Image Compressor: The Complete Guide to Shrinking Photos Without Losing Quality
If you've ever waited fifteen seconds for a webpage to load because of one massive photo, you already understand why an image compressor matters. Whether you're a blogger uploading screenshots, a Shopify store owner adding product shots, or a developer trying to hit a Core Web Vitals score, image size is quietly one of the biggest levers you can pull for speed, rankings, and user experience.
This guide walks through everything you need to know about compressing images — how it works, which format to pick, what "lossless" actually means, and how to build a workflow that keeps your site fast without wrecking visual quality.
What Is an Image Compressor?
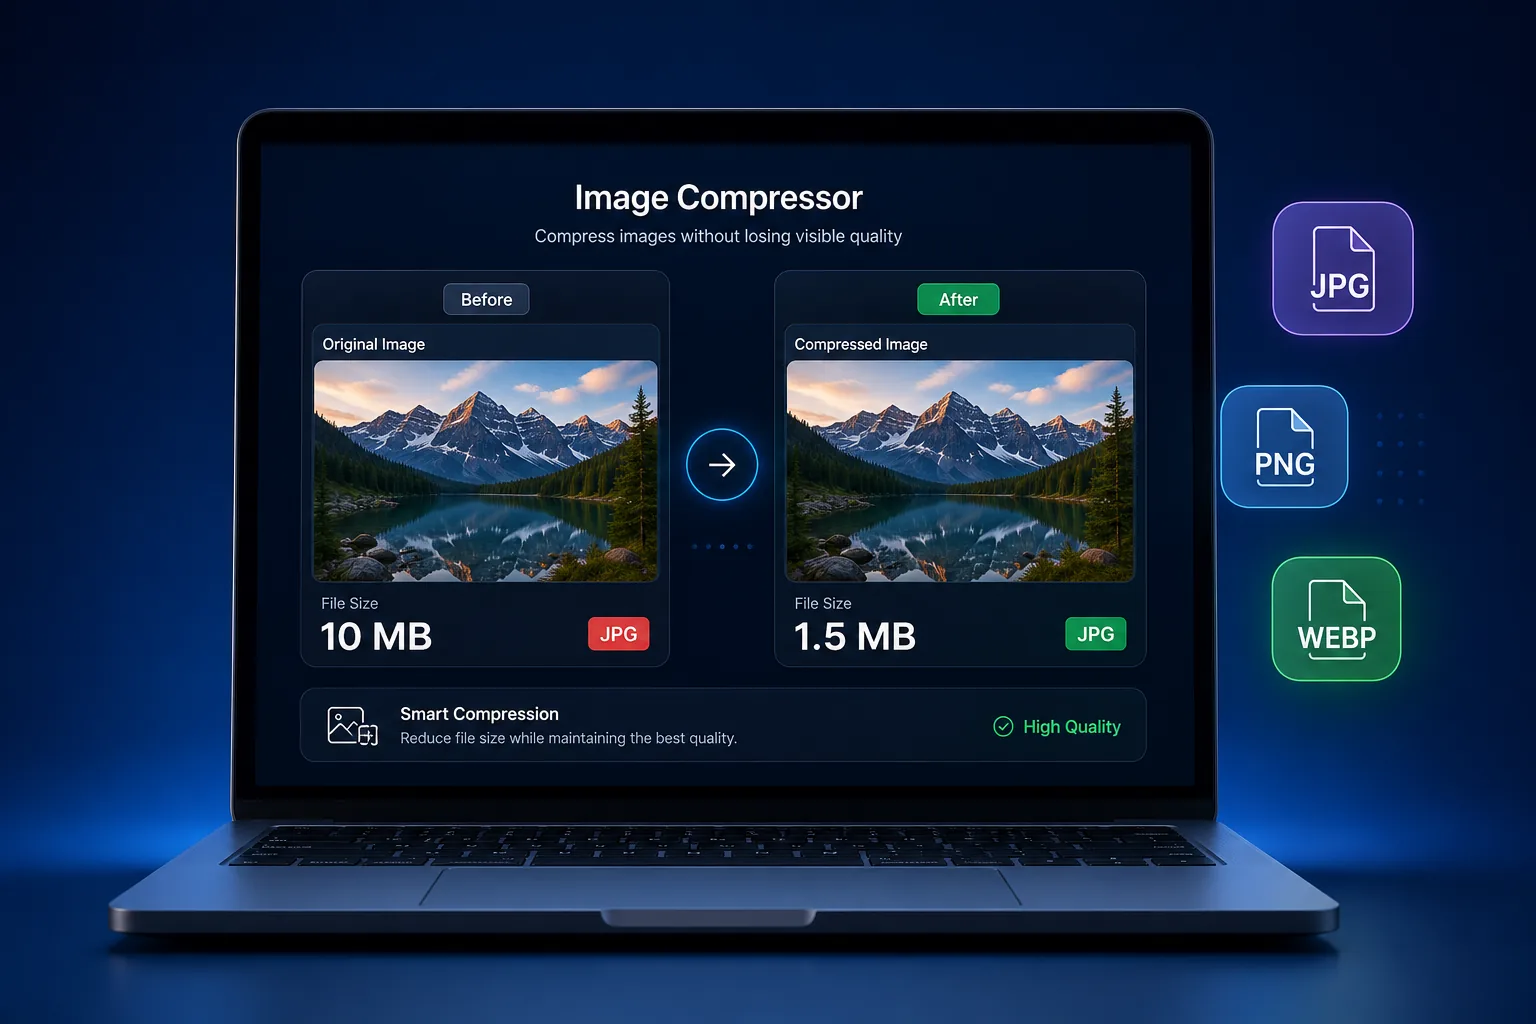
An image compressor is a tool that reduces the file size of a photo or graphic by rewriting how the pixel data is stored. It doesn't just shrink the picture dimensions — it re-encodes the file so it takes up fewer kilobytes while keeping the image looking essentially the same to the human eye. Most modern tools do this entirely in the browser: upload an image, the compression algorithm runs, and you download a smaller version — often 50-80% lighter than the original.
Lossless vs Lossy Compression: What's the Real Difference?
Direct answer: Lossless compression keeps 100% of the original image data at a smaller file size; lossy compression removes some data permanently for a much smaller file size, with a small, often invisible quality trade-off.
| Aspect | Lossless | Lossy |
|---|---|---|
| File size reduction | Moderate (20-50%) | Aggressive (50-90%) |
| Quality loss | None | Minor to noticeable, depending on level |
| Best for | Logos, screenshots, text | Photos, banners, blog images |
| Common formats | PNG, WEBP (lossless mode) | JPG, WEBP (lossy mode) |
Why Image Compression Matters
It Directly Improves SEO
Google's Core Web Vitals — specifically Largest Contentful Paint (LCP) — often hinge on how quickly the biggest visible element on a page loads, and that's usually an image. Compress that image and you directly improve your LCP score.
It Speeds Up Your Website
Smaller files transfer faster: faster Time to First Byte, faster full page load, lower bounce rate, and better mobile performance on slower connections.
It Helps Core Web Vitals and Google PageSpeed
Running a page through Google PageSpeed Insights almost always flags "Properly size images" or "Serve images in next-gen formats." A dedicated image optimizer resolves both issues in one step, often without touching a single line of code.
Supported Image Formats Explained
JPG / JPEG
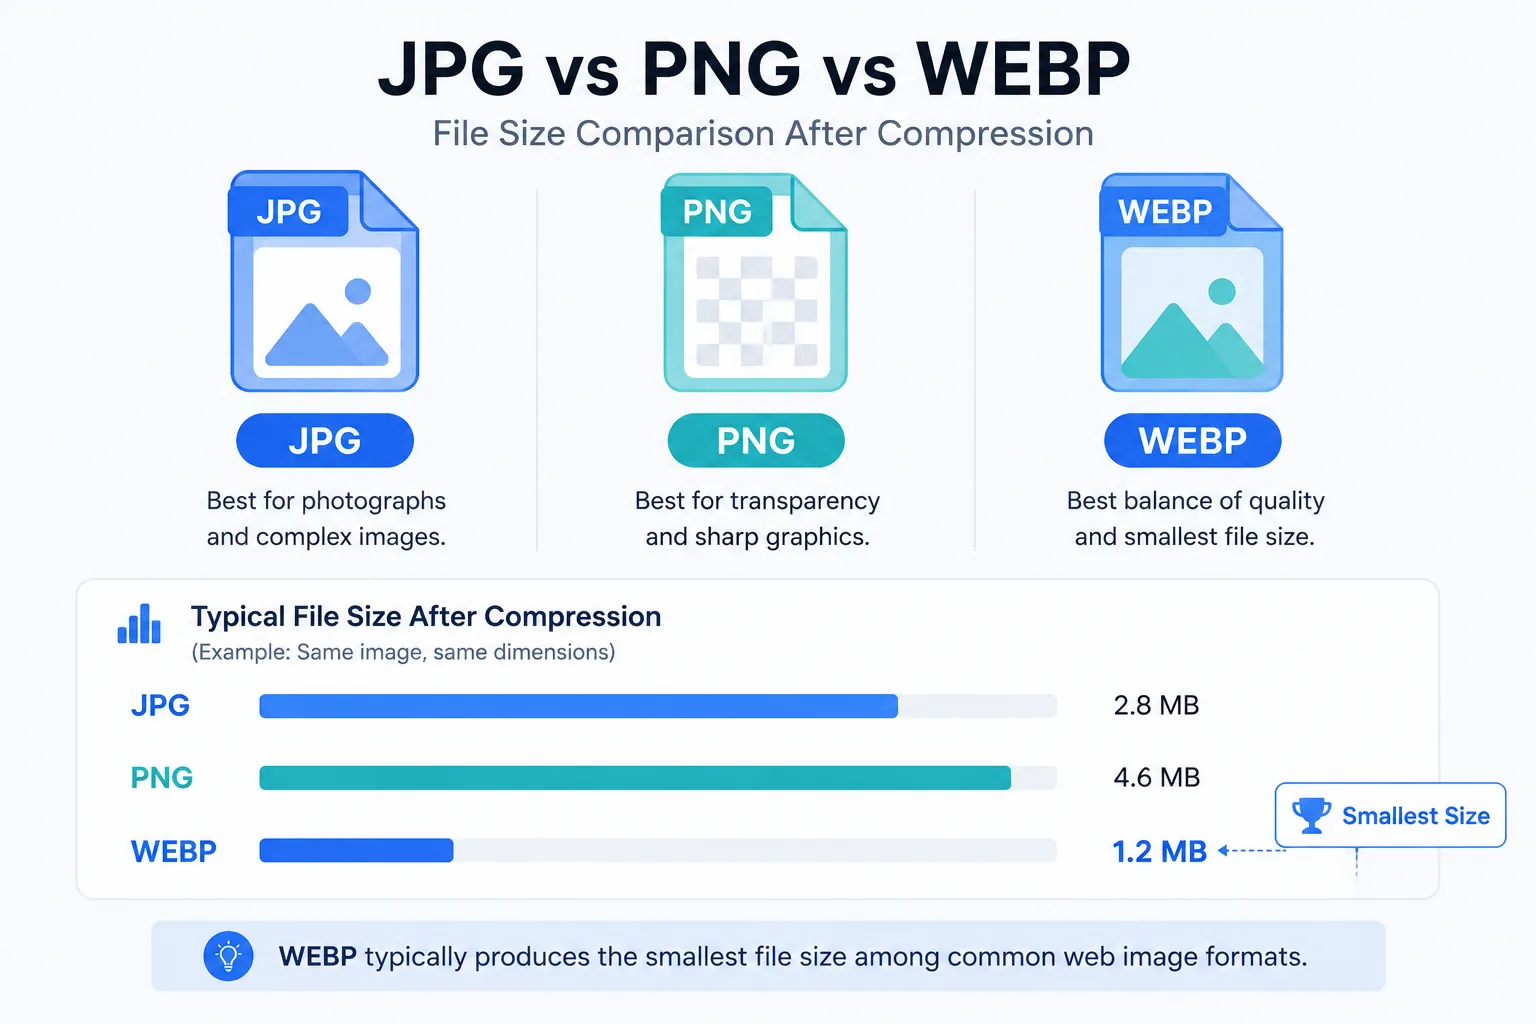
The most common photo format on the web. Uses lossy compression by design, ideal for photographs with lots of color gradients.
PNG
Supports transparency and uses lossless compression by default, which is why PNGs are typically larger than JPGs for the same photo. Best for logos, icons, and screenshots with text.
WEBP
A modern format developed by Google that supports both lossy and lossless modes, plus transparency and animation. WEBP files are typically 25-35% smaller than equivalent JPG or PNG files at the same visual quality.
PNG vs JPG vs WEBP: Which Should You Use?
| Format | Best For | Transparency | Compression Type |
|---|---|---|---|
| JPG | Photos, banners | No | Lossy |
| PNG | Logos, screenshots, text | Yes | Lossless |
| WEBP | Photos & graphics on modern sites | Yes | Both |
How to Use the Image Compressor: Step-by-Step
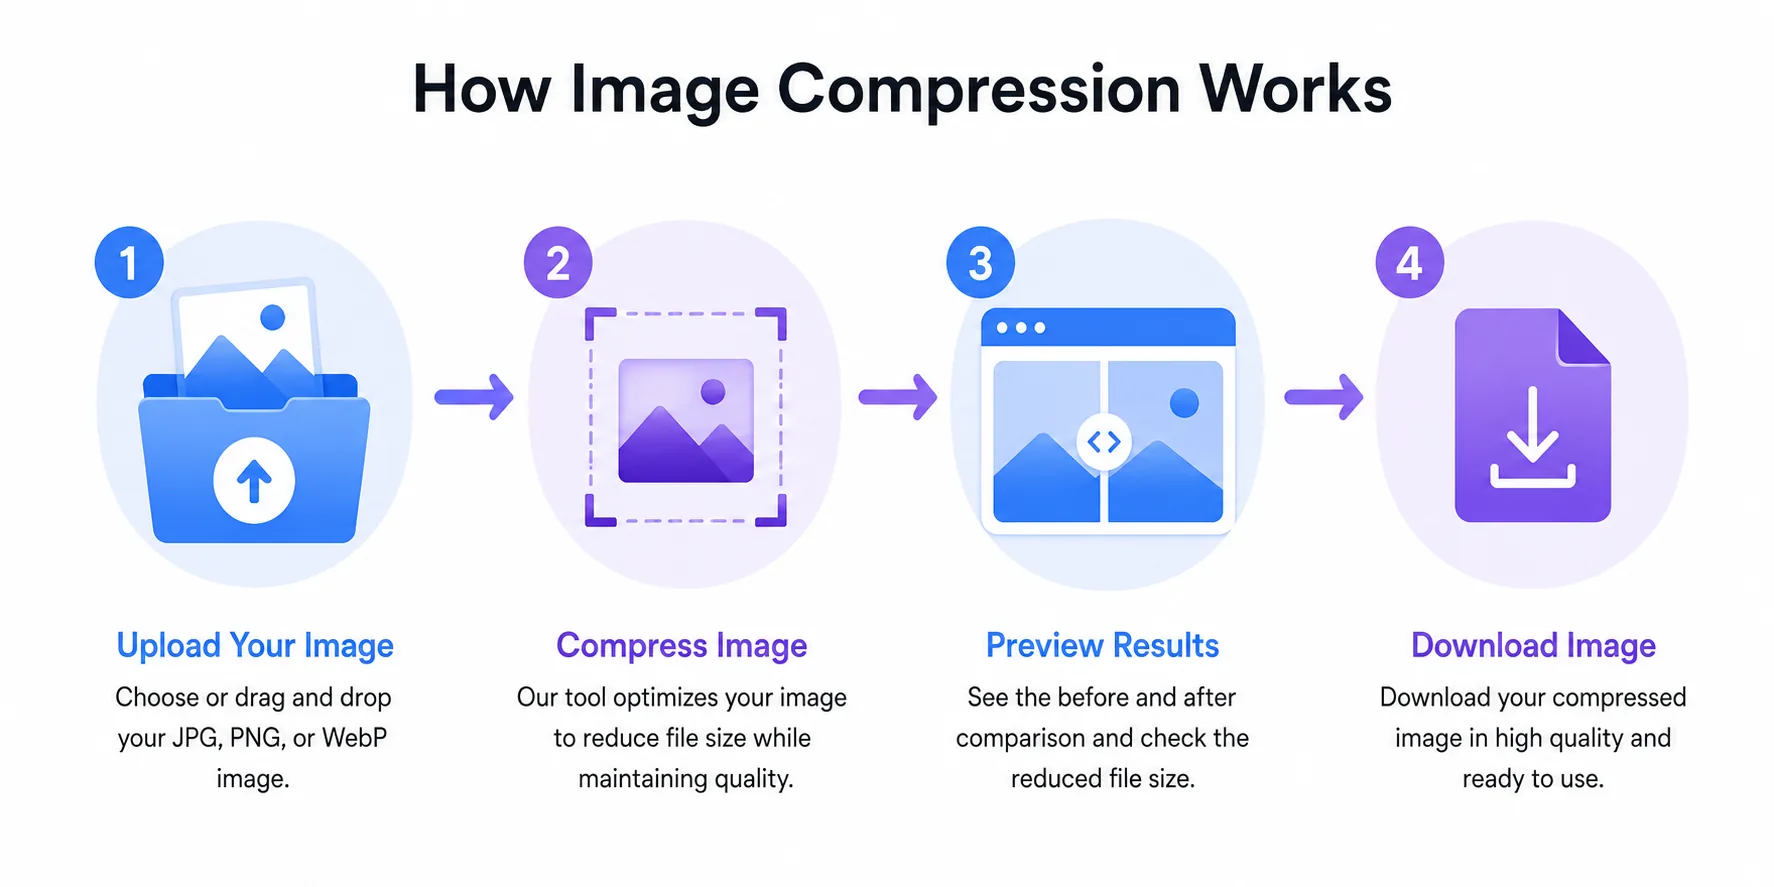
- Upload your image. Drag and drop your file, or click to browse and select it from your device.
- Choose your compression level. Pick between higher quality (larger file) or maximum compression (smallest file), depending on your priority.
- Start compression. Click compress and let the tool process your image — this typically takes just a few seconds.
- Preview the result. Compare the before-and-after file size and visually confirm the quality meets your standard.
- Download. Save your compressed image directly to your device, ready to upload wherever you need it.
🗜️ Try the Free Image Compressor
Compress JPG, PNG & WEBP images instantly in your browser. No uploads to worry about, no signup, 100% free.
Compress Images Now →Security and Privacy: What Happens to Your Uploaded Images?
A good compressor should give you a clear answer here. Reputable browser-based tools process images directly in your browser, or on a server that automatically deletes files shortly after processing. Look for tools that state their retention policy clearly and don't require account creation for basic use.
Image Optimization Best Practices
- Compress before uploading to your CMS, not after.
- Match compression level to content: 60-75% quality for backgrounds, 80-90% for product or portfolio shots.
- Convert photographic JPGs and PNGs to WEBP where possible.
- Resize to display dimensions before compressing — this alone can cut file size dramatically.
- Use descriptive, keyword-relevant filenames instead of
IMG_2031.jpg.
Who Needs to Compress Images?
- Bloggers — faster-loading posts and better SEO rankings.
- Ecommerce store owners — lighter product galleries that load faster on mobile checkout.
- Photographers — portfolios that stay sharp while loading quickly.
- Developers — a quick manual check before automating compression into a build pipeline.
- Students — shrinking images for assignments or email attachments with strict size limits.
Frequently Asked Questions
What is the best free image compressor?
The best free image compressor supports multiple formats, requires no registration, processes files securely, and gives you control over the compression level without watermarking or limiting file count.
Does compressing an image reduce quality?
Lossy compression can slightly reduce quality at aggressive settings, but at moderate levels (75-85%) the difference is typically invisible to the human eye. Lossless compression causes no quality loss at all.
What image format compresses the best?
WEBP generally offers the best compression-to-quality ratio for web use, often producing files 25-35% smaller than equivalent JPGs or PNGs.
Is it safe to upload my images to an online compressor?
Yes, as long as the tool has a clear privacy policy stating that uploaded files are either processed locally in your browser or automatically deleted from any server shortly after processing.
Can I compress multiple images at once?
Yes, most modern image compressors support bulk upload, letting you compress dozens of images in a single batch.
Summary
Image compression isn't a nice-to-have anymore — it's one of the fastest, most reliable ways to make your website faster, your Core Web Vitals healthier, and your visitors' experience noticeably smoother. A solid free image compressor handles JPG, PNG, and WEBP files in seconds, right in your browser, with no installation and no quality guesswork.